


road trip photos - part 1
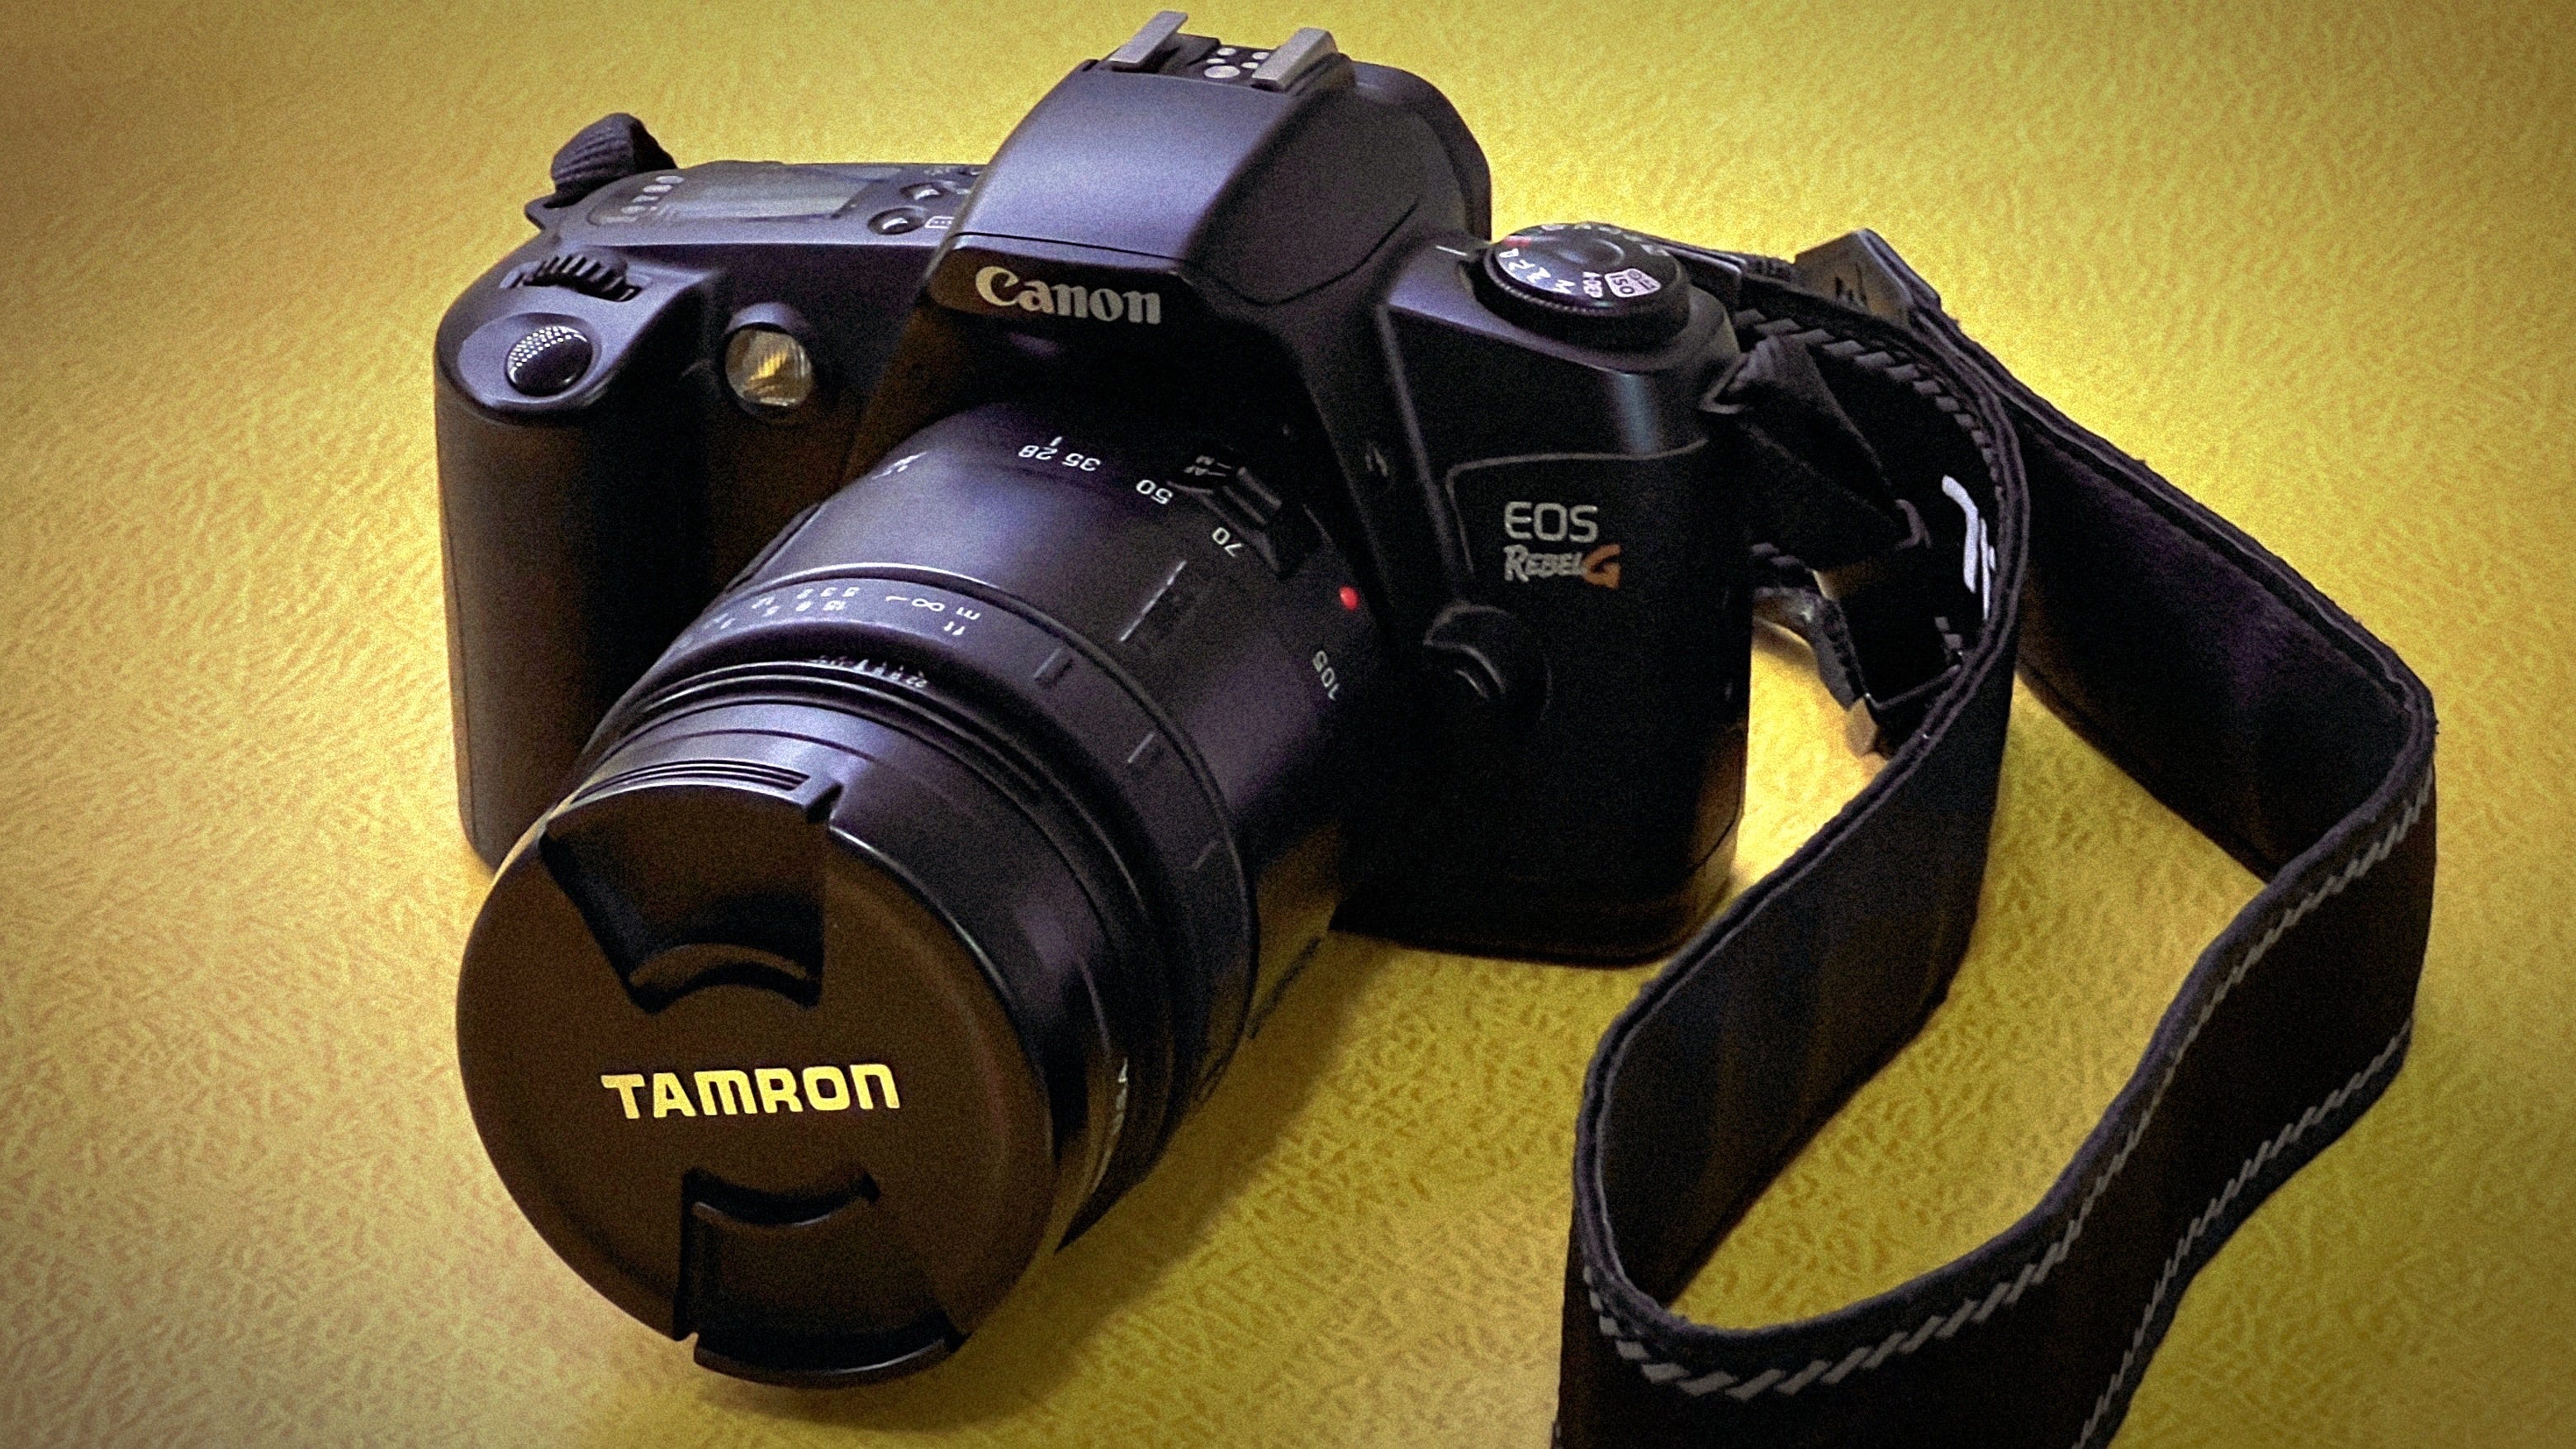
Canon EOS Rebel G : Kodak Vision 3 - 500T
note: due the length of this post and the images contained within, your email service may clip it before you get to the good stuff. just click on the title above and view the full post without limits.
when i said fun things were coming in July… THEY DID! unfortunately, i wasn’t able to post while we were on the road, but now that i’m processing all of the film photos from the trip, i can take you along. i got some good phone photos and video as well, but this post is just about film.
Canon - 35mm to digital to video
when i was accepted to film school, i received a list of things i’d need to bring with me. but instead of notebook paper or erasers, much of the list was technical items i was unfamiliar with or at least didn’t yet own.
the big ticket item was an SLR (single lens reflex) 35mm camera. my parents helped me pick out a camera system… i remember they did most of the talking to the guy at the camera store. they’d ask me what i wanted, but i didn’t know what any of it was. but we walked out of there with a Canon EOS Rebel G and a couple of decent Tamron zooms (with Canon EF mounts), all packed nicely into a green Canon bag.
little did we know how much this would influence my film career for the next 25 years and beyond. truth be told, many students got through film school without ever owning an SLR camera, and many that did had an old windup like my mom’s Minolta she used at every band competition and family gathering we had growing up.

but i did use my camera quite a bit in film school, and i definitely got our money’s worth out of it. i took dozens of rolls of photos throughout my 4 years there, learning about composition, exposure, color, film stocks, … you name it. i had teachers slip me free rolls of film to do photography tests before certain projects, and i had a wall in my off-campus basement apartment that was covered in photos and photo cutouts of friends and family.
but years later, when i was about to take my first trip to Europe, i wanted to get a DSLR (digital single lens reflex). i hoped to take lots of photos, and didn’t want to pay for developing and prints when i could have JPGs i could look at right away.
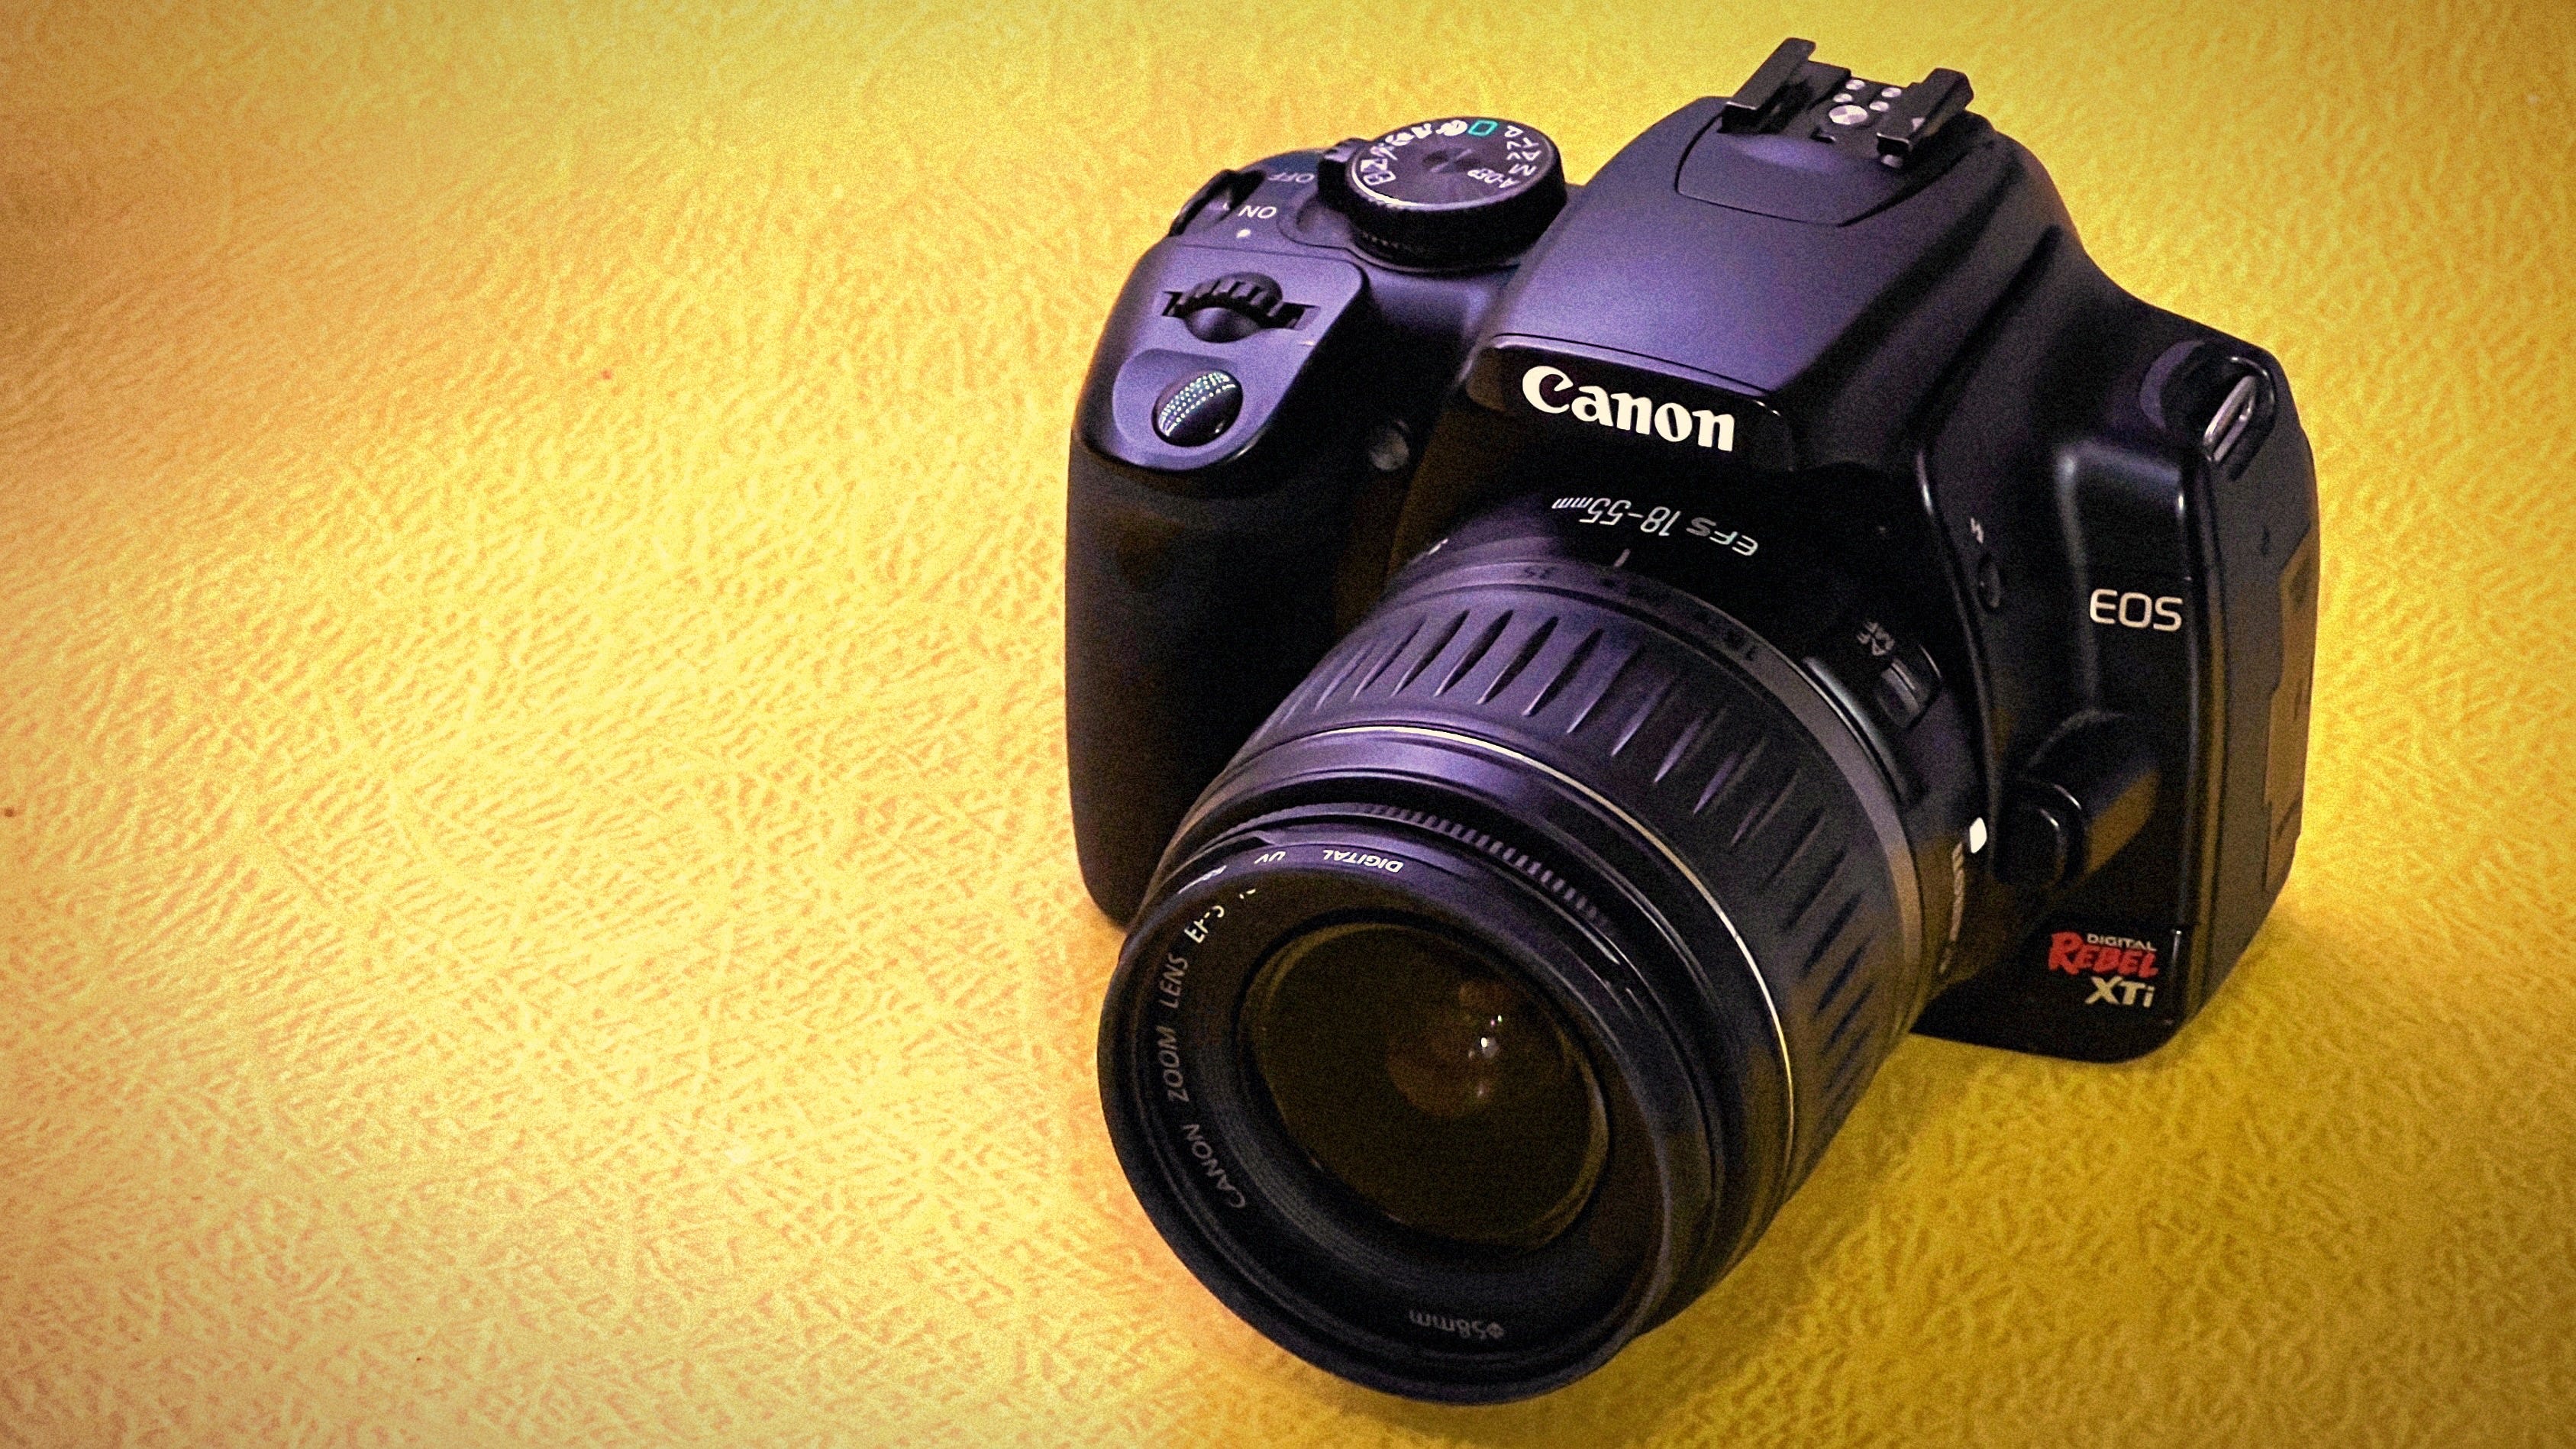
to save money, i would reuse my Tamron lenses and just buy a new digital body. luckily, the first digital Rebel had been released just prior to that summer. after doing video at IMPACT church camp, i took my paycheck straight to Wolf Camera and walked out with a Canon Rebel XTi body. it did come with a kit lens (low-quality zoom), which i used some, but mostly my Tamrons lived on it (and still do!).
my green Canon bag and its contents traveled around Germany, Switzerland, France, and Italy on that trip. i definitely got my money’s worth out of the new body as well.
as video cameras began changing to look more like film cameras, Canon added video to their line up with the successor to my camera, the T2, and to a new flagship digital camera, the 5D. soon Canon had video on most of their still cameras, and in so doing, they had a foothold on the pro-sumer (between professional and consumer) market for digital cinematic video.
my first digital video camera was a Panasonic camcorder. it was the very first HD 24P camcorder available to pro-sumers like myself, and therefore it quickly went out of style, superseded by better cameras with more usable features.
when the opportunity arose for me to go to Israel, i knew i needed a new camera. something modern, powerful, adaptable, and small. i bought a Blackmagic Pocket Cinema Camera because its small size and DSLR form-factor would let us sneak filming in places where we might have been asked to leave with a bigger camera. but the BMPCC didn’t come with lenses. i wanted to re-use my own, so i looked for an adapter to keep using my Tamron lenses.

a Metabones Speedbooster allowed me to use my Canon EF-mount lenses on the BMPCC, while shrinking the image to fit onto the smaller image chip of the BMPCC. because the same amount of light is shrunk into a smaller space, the image is also brighter, thus the speed booster moniker (speed refers to how quickly an image reaches exposure through the lens onto the image plate). even this, however, my Tamron zooms were not very fast, and would require a lot of light to get a good exposure, something we would not often have the luxury of on this trip. a small adapter ring let the camera take older Canon FD-mount lenses, like those used with older Canon 35mm windups. i got half a dozen prime and zoom lenses on eBay for cheap, and many of them were quite fast. this made it ideal to shoot in even low-light conditions in the synagogues, tombs, and churches we visited throughout Israel.

when i went back to freelance filmmaking, i knew the cheaper, older FD lenses wouldn’t really cut it any more. i needed more professional lenses if i was going to be making high-quality cinematic content for my clients. i invested in a set of Rokinon Cine lenses from B&H. having used them for Love is Alive, i knew they would do quite well.
just before we shot the film back in 2020, i decided the film would be best served if we upgraded the camera. since i was already invested in the Blackmagic and Canon families, i opted for the Blackmagic Pocket Cinema Camera 6K (with Canon EF mount).

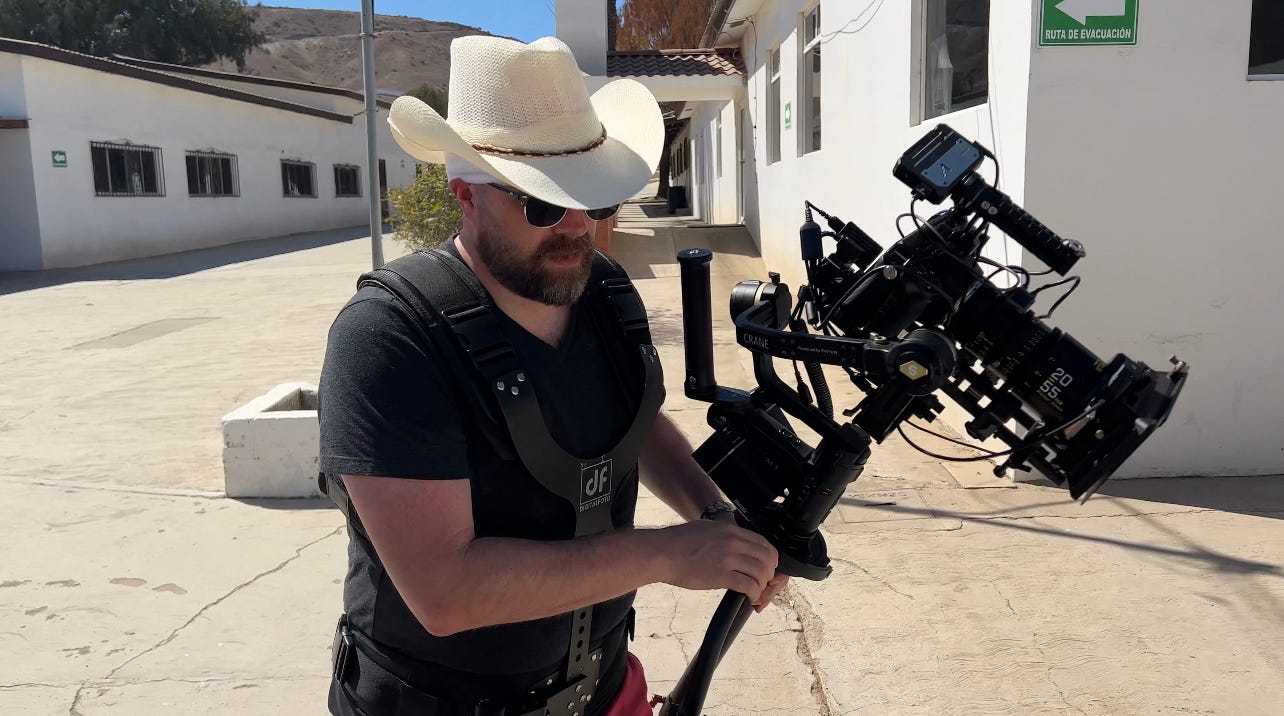
and more recently, just before we left for Mexico a few weeks ago, i knew we’d need a fast, cinema-quality zoom lens to be as portable as possible, shooting off the shoulder or on a stabilizing vest rig. luckily, a few companies had just put out some affordable ones, and i grabbed one with good recommendations. it served us well, and yep, it was a Canon EF mount.
amazing how one decision almost 25 years ago is still affecting my purchasing decisions today. if we’d chosen Nikon, i’d have 20+ Nikon lenses instead of Canon lenses.
ANYway…
you’re here for photos.
so one disappointing thing about all this is i didn’t have time to test the cameras before we went. the idea of taking film photos on the road trip was a late thought, and i barely got the film in time. if i’d been thinking about it, i could have probably gotten a roll of generic film somewhere and taken it to Walgreen’s or something (do they still do that?) but alas.
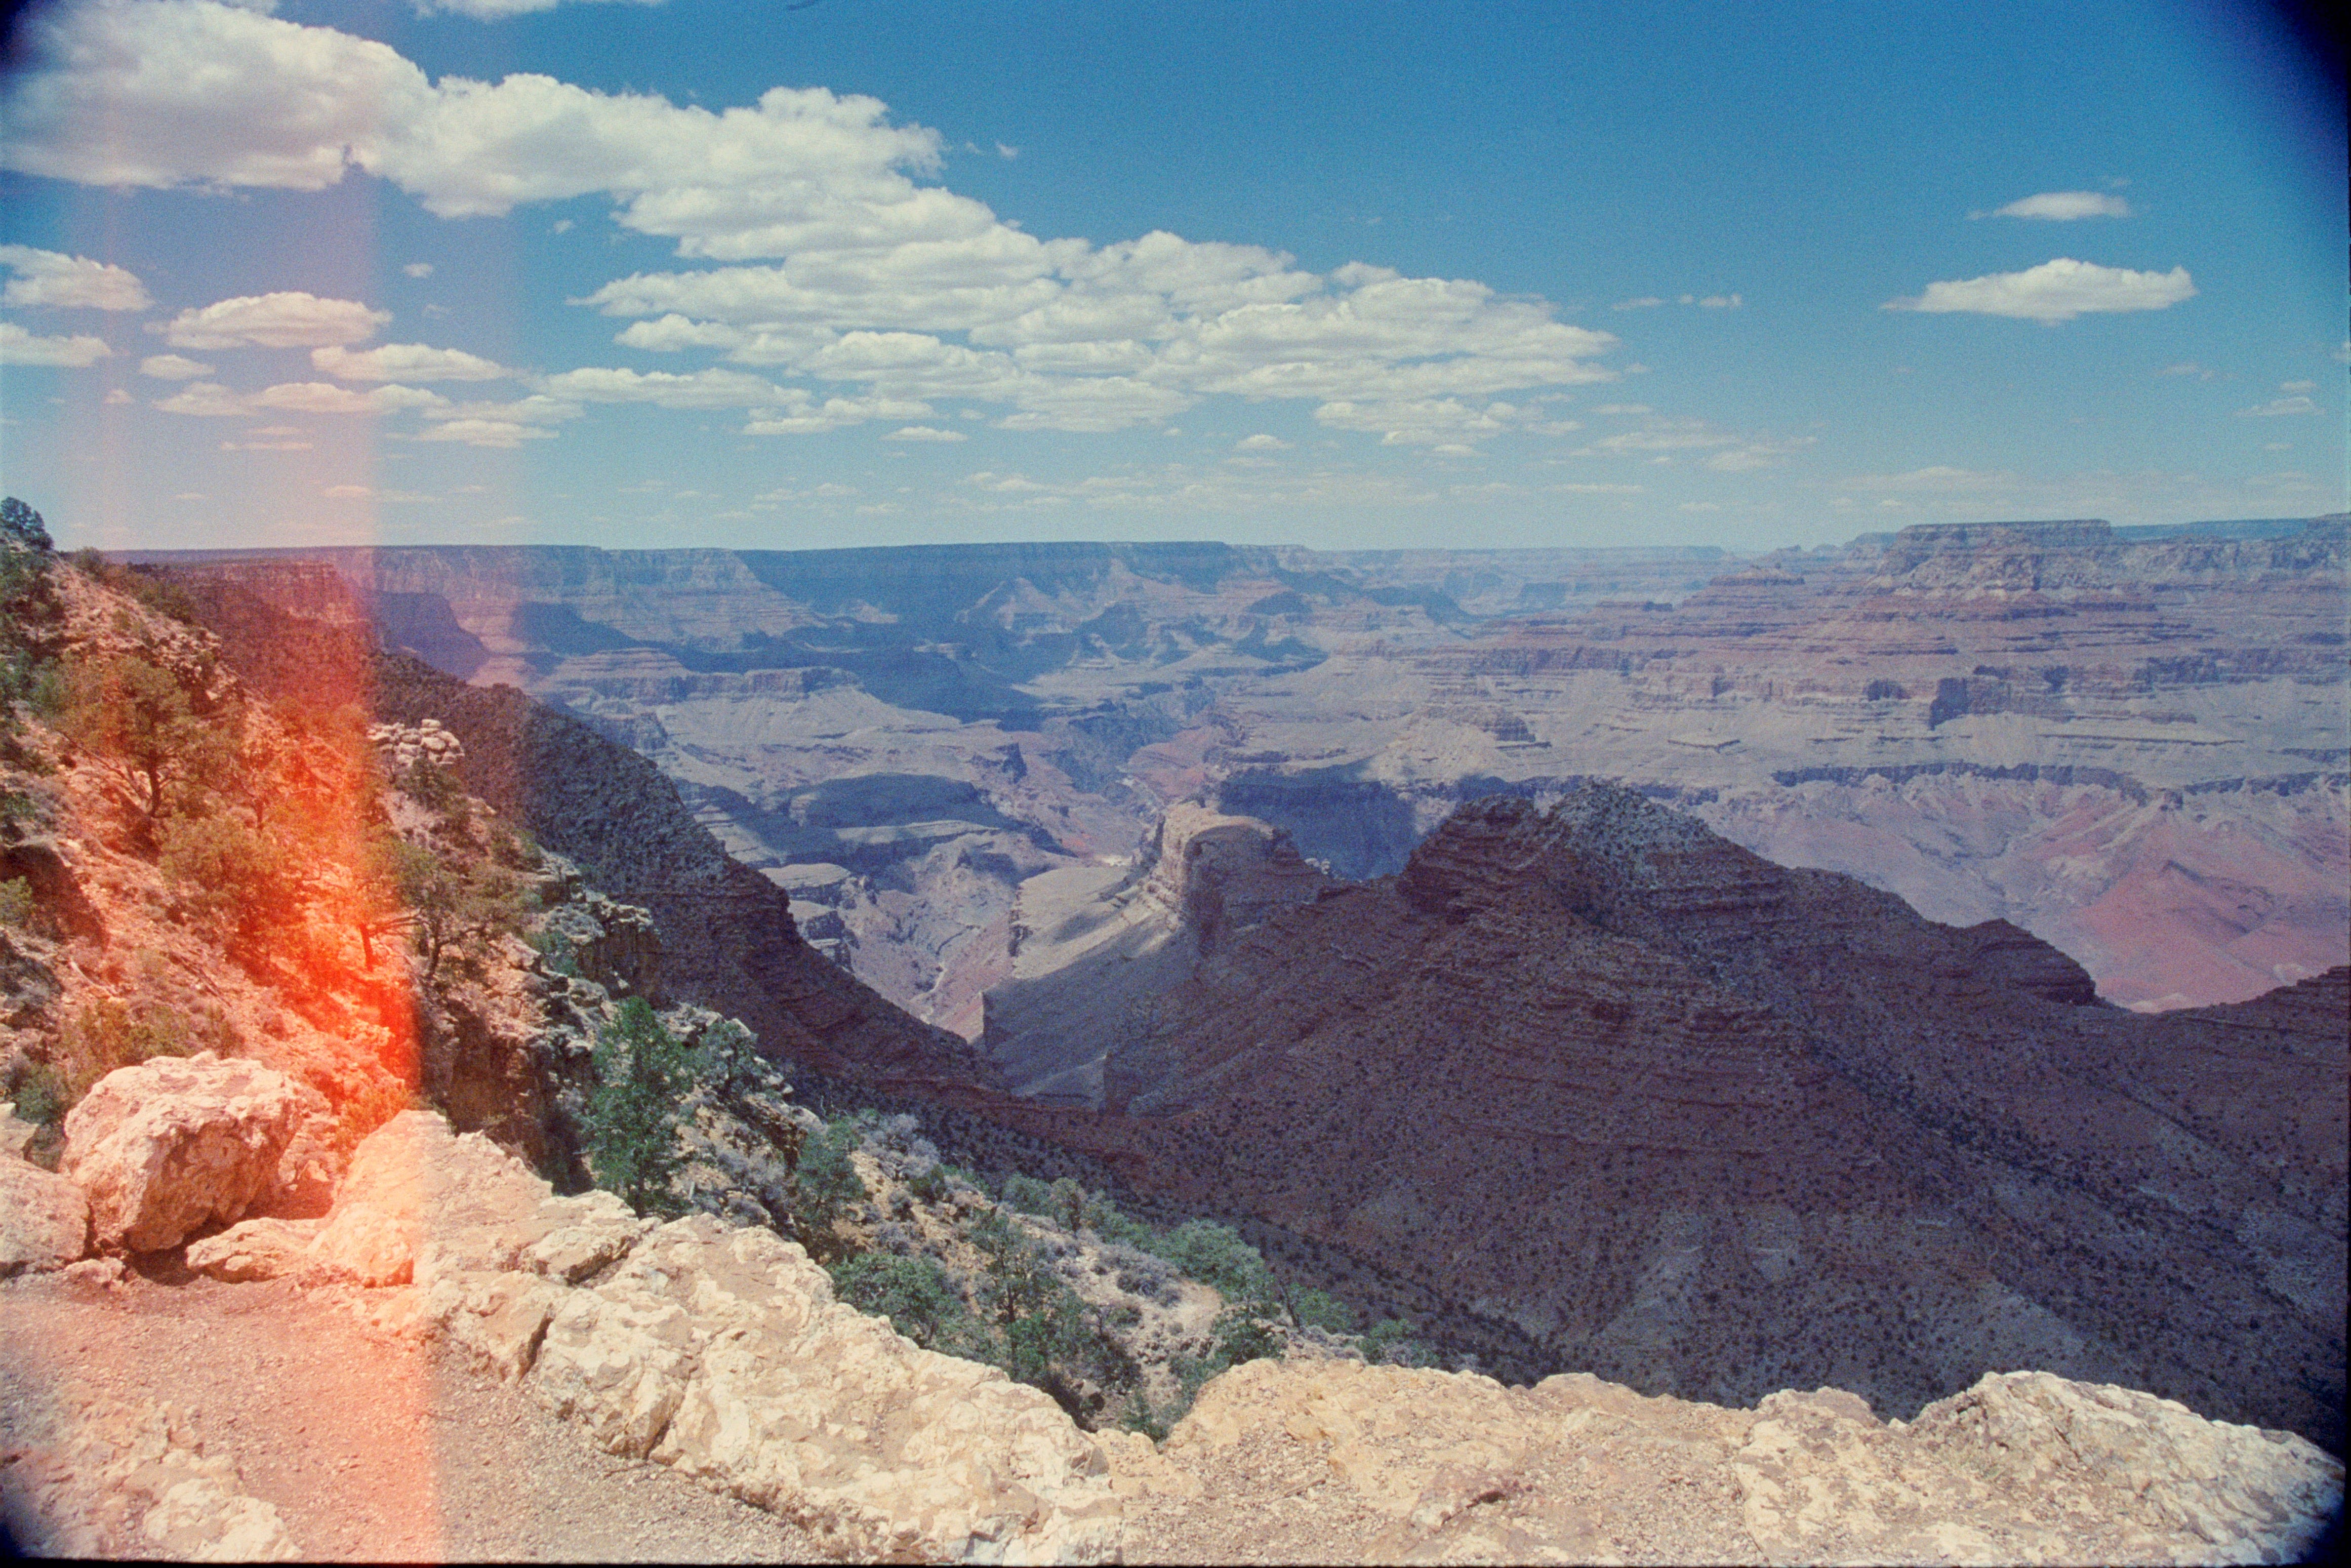
so my old Canon XTi has a bad light leak on one side. i have one picture left on the roll currently in it, and then i’m going to inspect it and see what the deal is. some of the pictures came out totally fine, but any with direct sunlight have a distinct light leak / reflection on one side, as you’ll see way down below.
the film
the film is from Film Photography Project. they take Kodak Vision 3 film — the same film used on modern movies that still shoot film instead of digital — and cut it into 24-exposure rolls for still cameras.
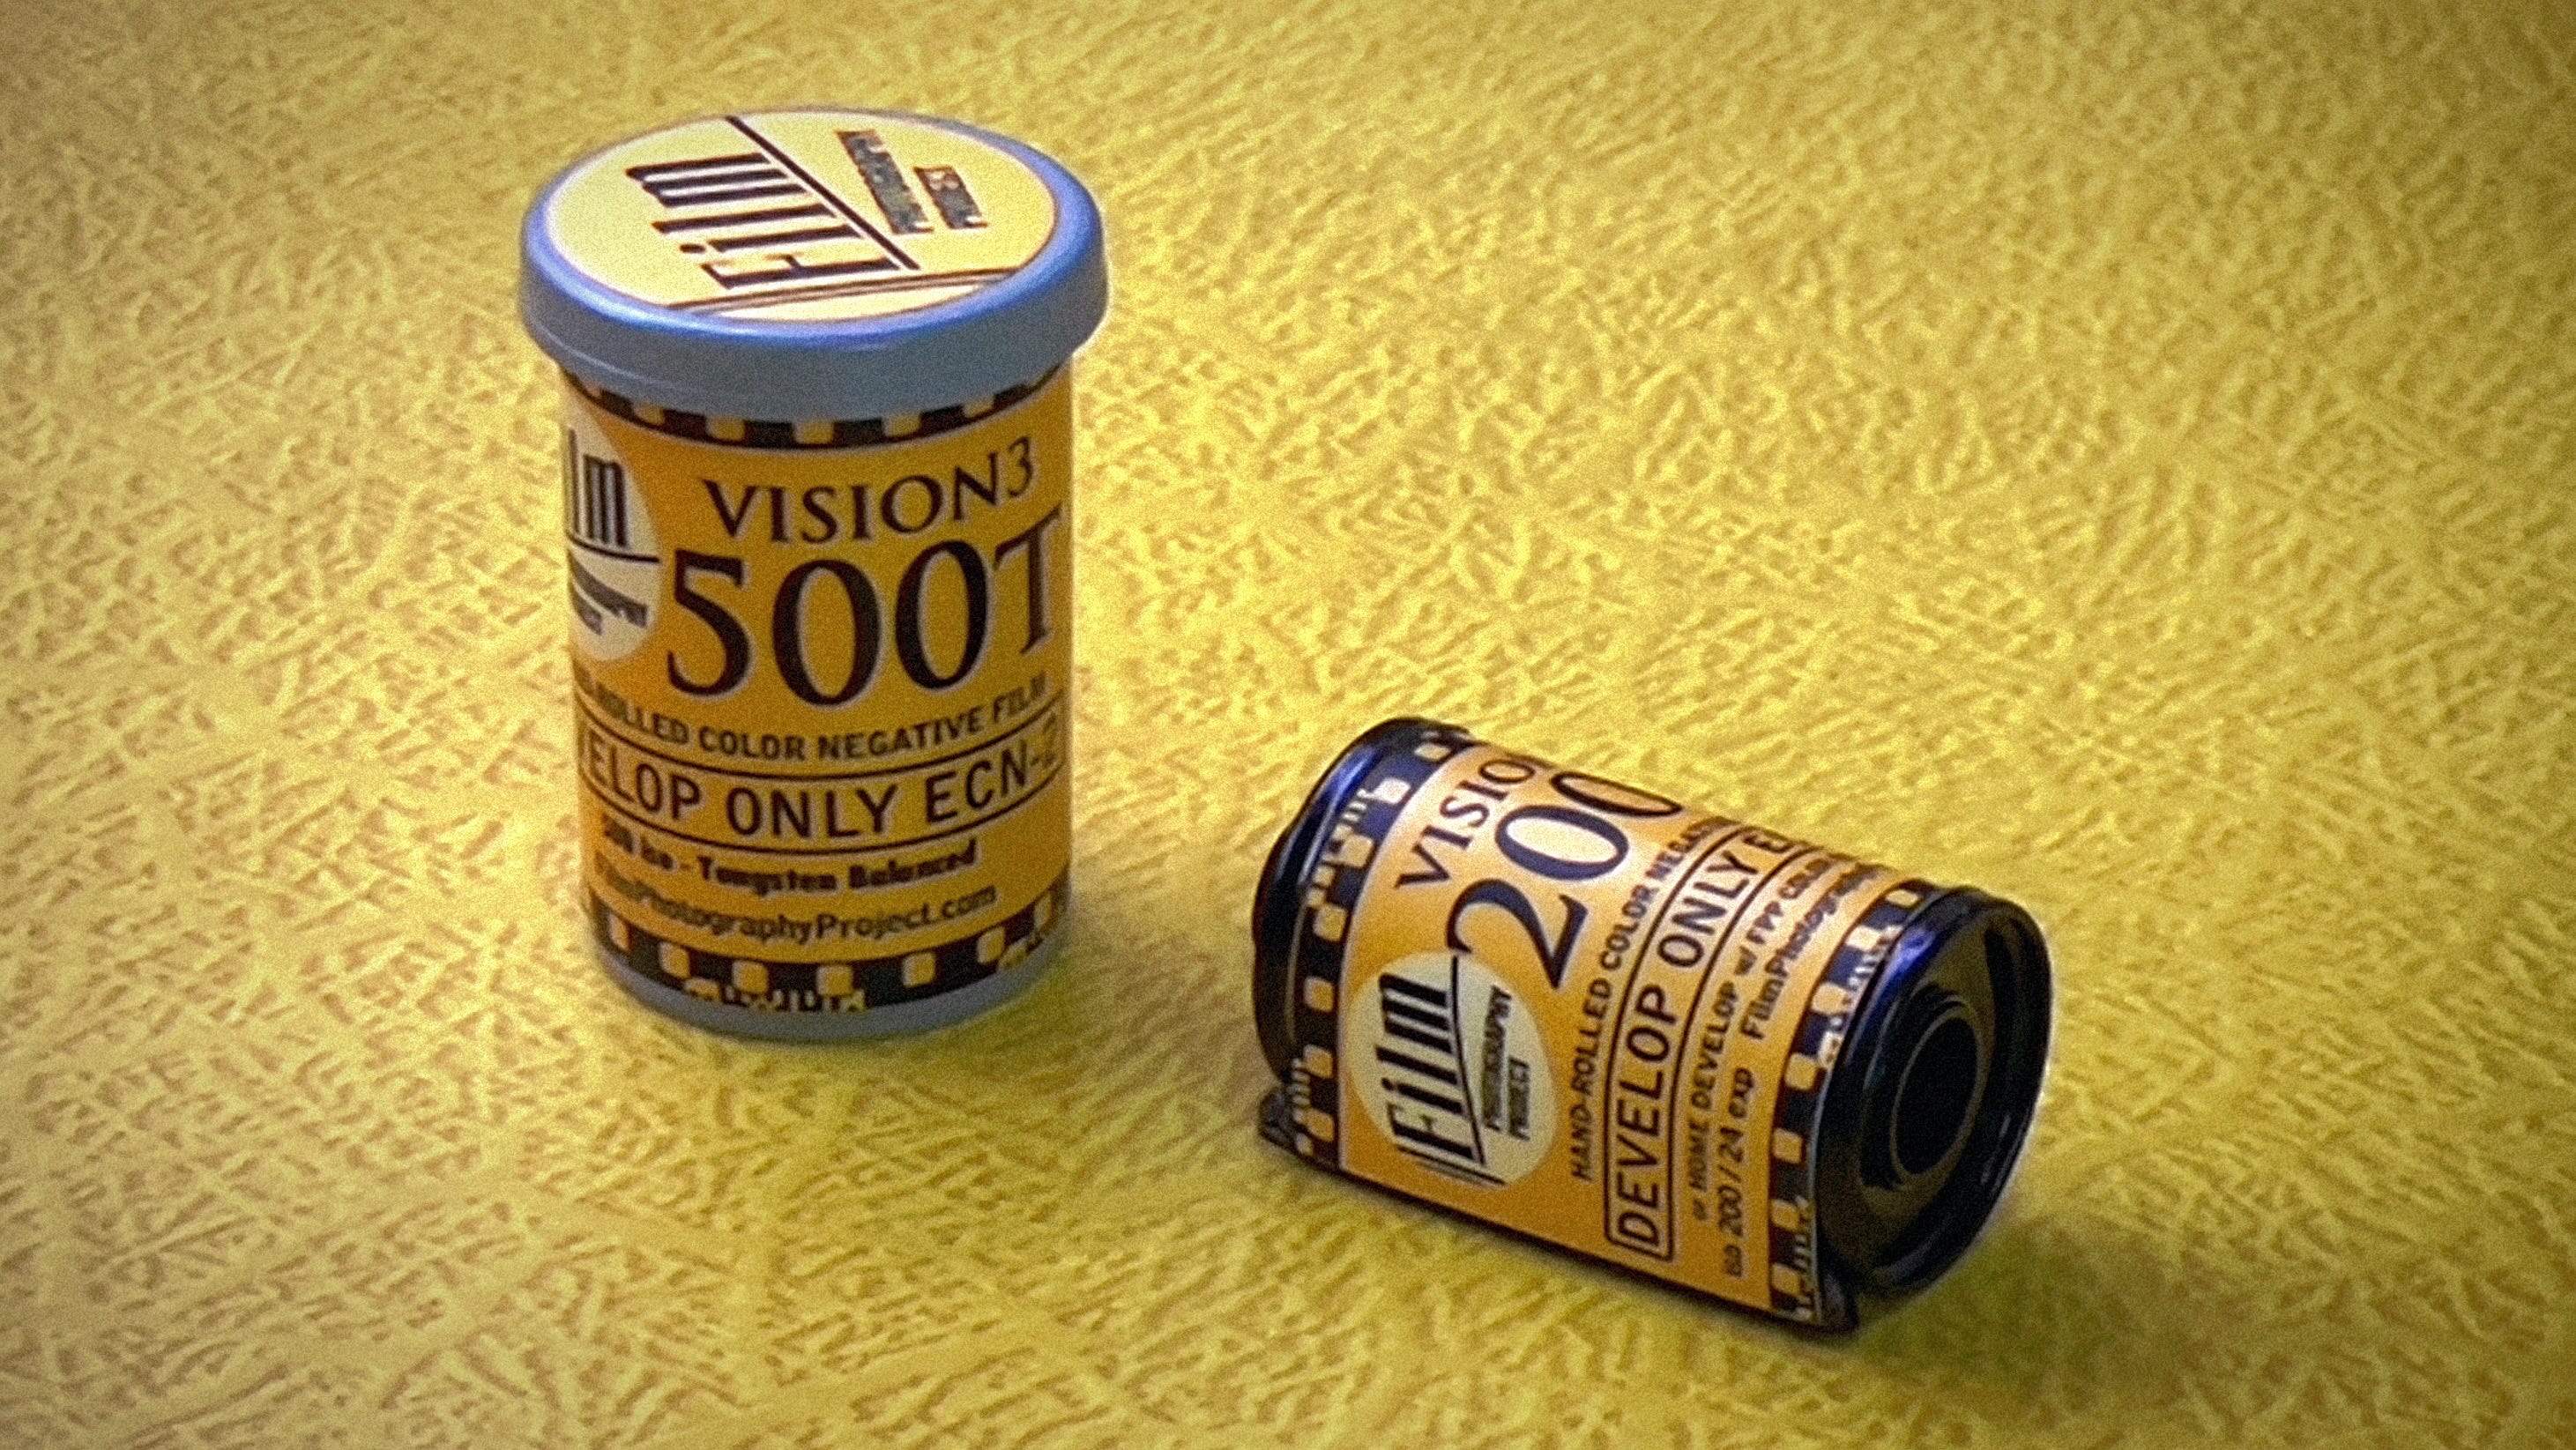
this roll was 500T. 500-speed film is faster film, so it takes pictures in lower light. however, the trade off is larger grain, which is evident in several of the photos. the T stands for Tungsten, as in indoor tungsten-filament lighting. since almost all of these photos were shot outdoors, i used an 85 filter (an orange filter that attaches to the lens) to compensate for the blue sunlight and achieve correct color.
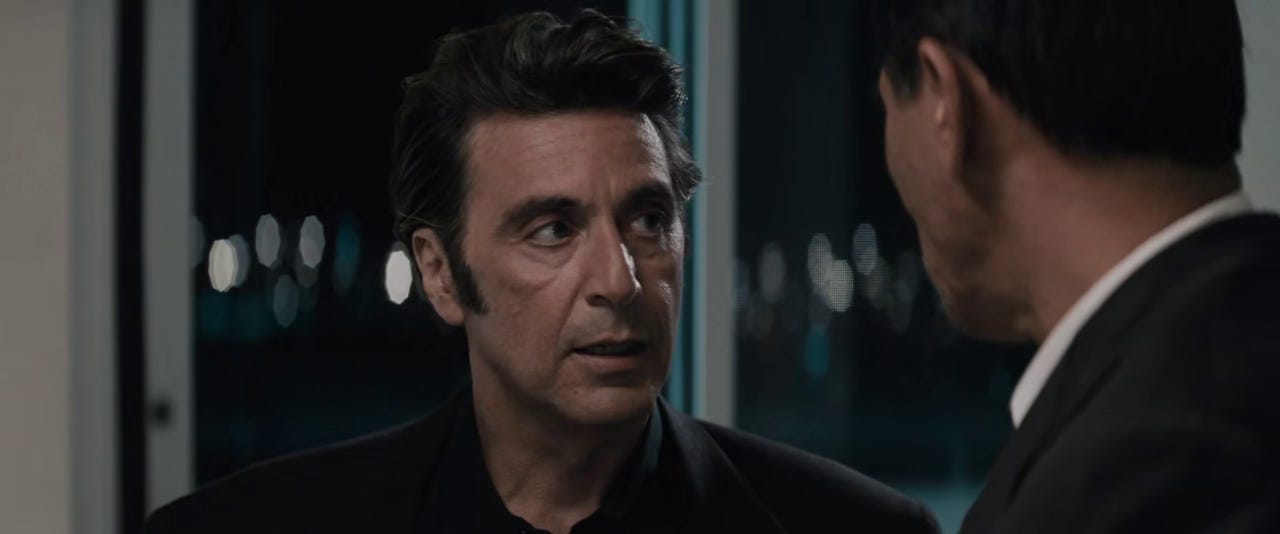
one of my favorite films, HEAT, was shot entirely on Kodak 500 speed film (EXR i believe) and i love the look of it. the colors are rich but earthy, and the grain exemplifies HEAT’s gritty story:


most all the other pictures on the trip were taken with my Nikomat camera, given to me by a friend who wasn’t even sure if it worked. it does, and i got some amazing photos with it! i took several rolls of Kodak Vision 3 with it, mostly 50D and 250D. i’ll post these photos as well, but they’ll be behind the paywall (so if you’re not subscribed, now’s your chance!)
Kodak Vision 3 500T
first, the few selects that were worth editing. i have made framed prints of some of these. if you see anything you’d like to buy a print of, let me know.
edited photos

prints
you can’t believe how beautiful some of these are as prints. if you’d like one, let me know which photo and what size. i can make up to 13x19. i don’t have pricing or anything set yet. but i’ll make you a good deal while i’m still trying to figure out costs.

editing photos
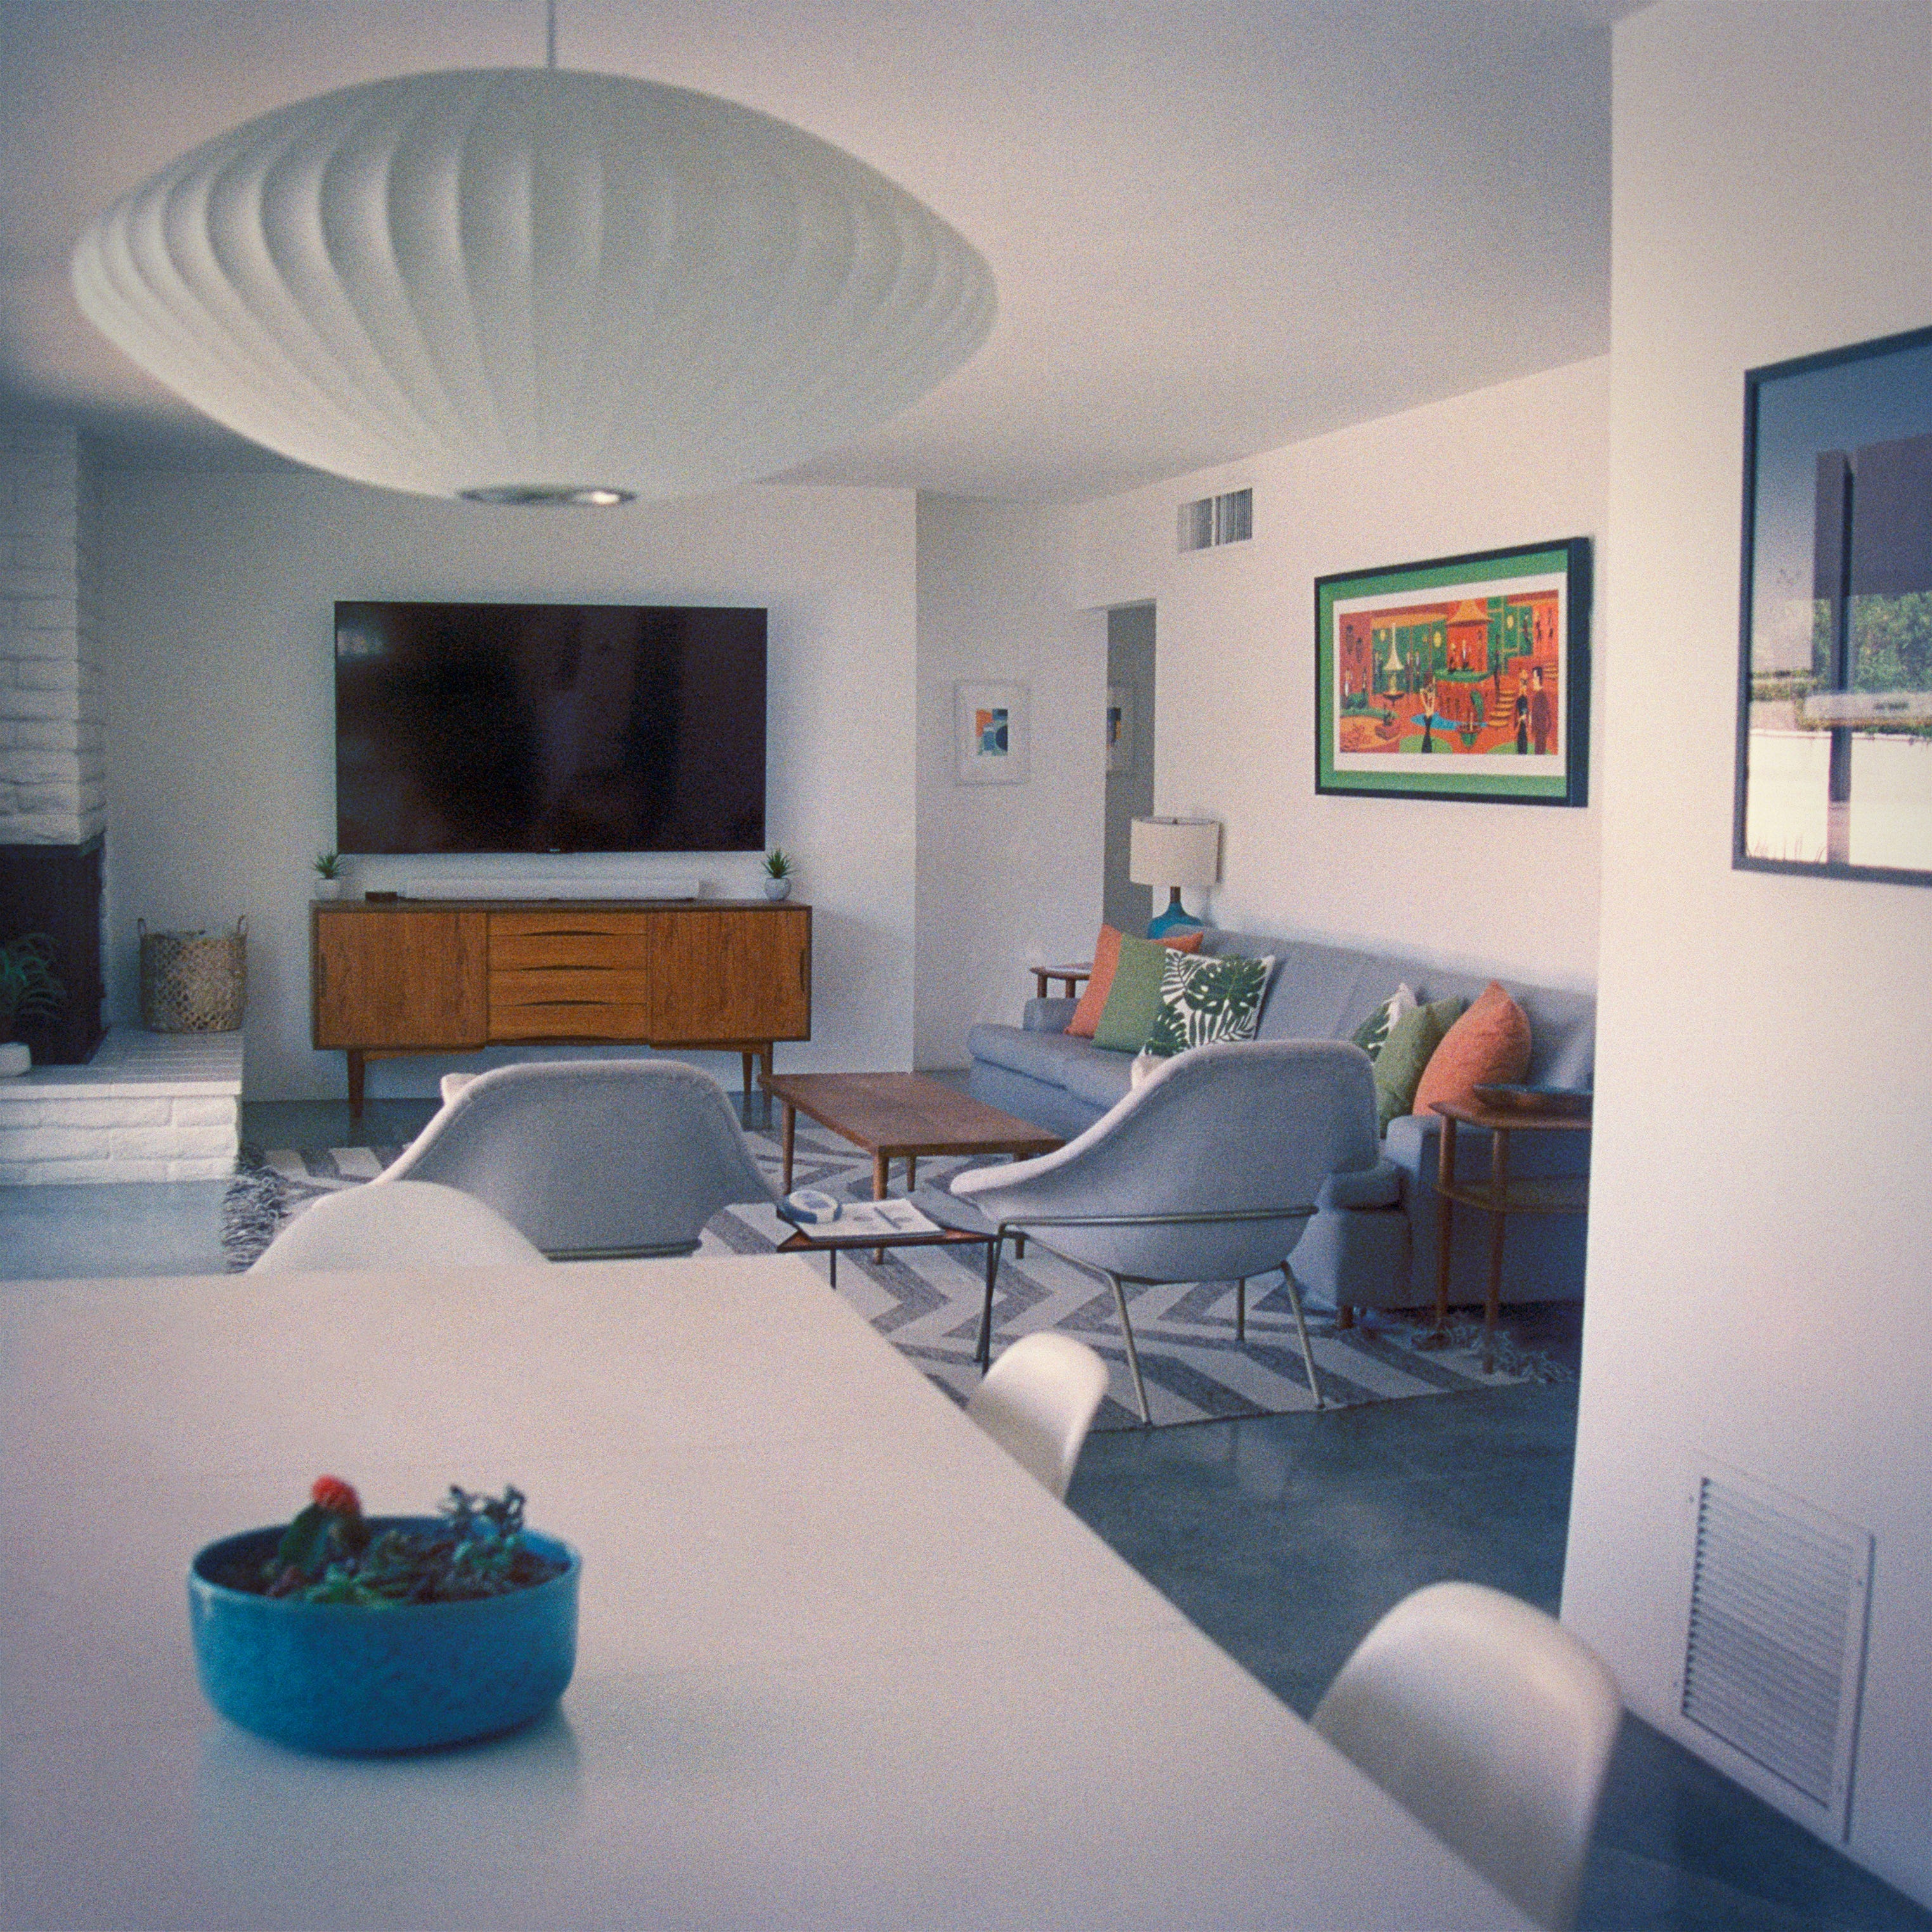
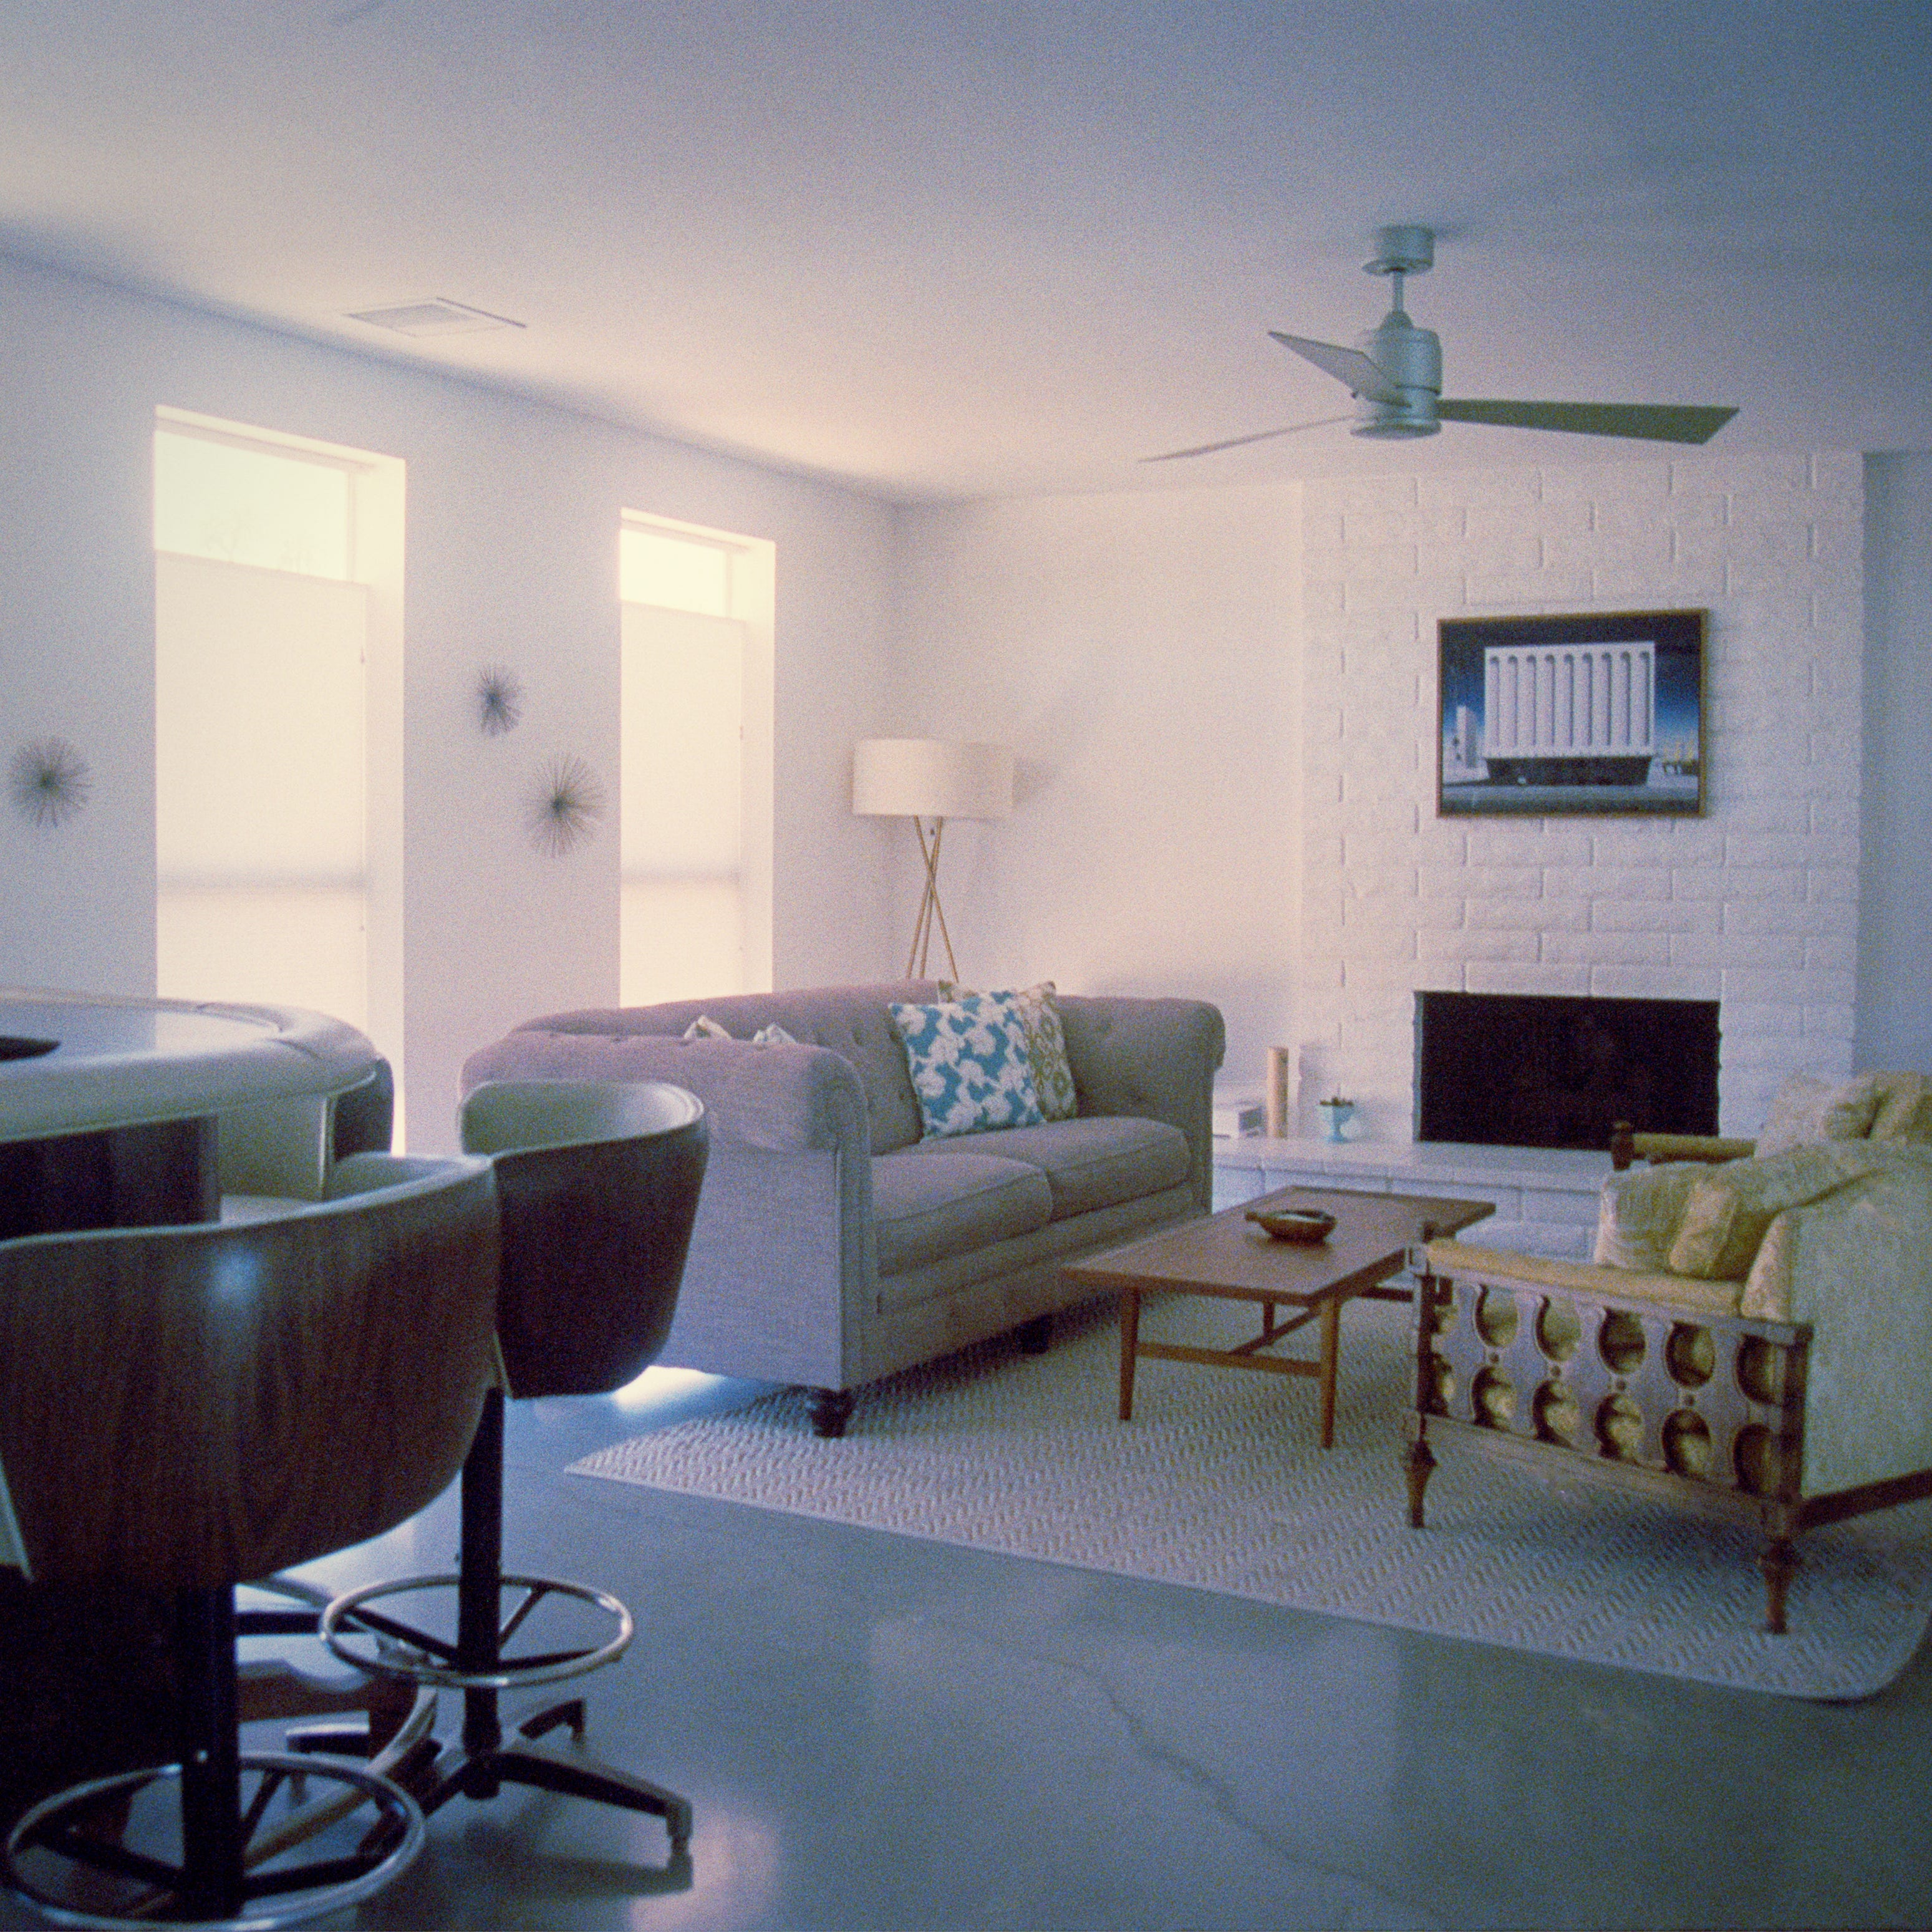
when the photos are scanned, they are in a very raw form — no cropping or final color work, although i’ve gotten decent color out of the scanner itself. pictures that i want to post on my Instagram or make prints of have to go through a process of editing. they may need retouching, including blemish or dust/scratch removal, “greeking” license plates (making letters/numbers ambiguous or hidden through removal, covering, or altering), skin blemishes, or even removing cables or trash from the wall or floor. in the photo of my buddy’s MCM home above, i spent some time moving the blue bowl on the table so i could get it where i wanted it versus where it is in the original photo.
just as a comparison, here is the Arizona Motor Hotel photo above compared with the initial scan:

in a future paid post, i’ll detail some of how i edit the photos.
unedited photos
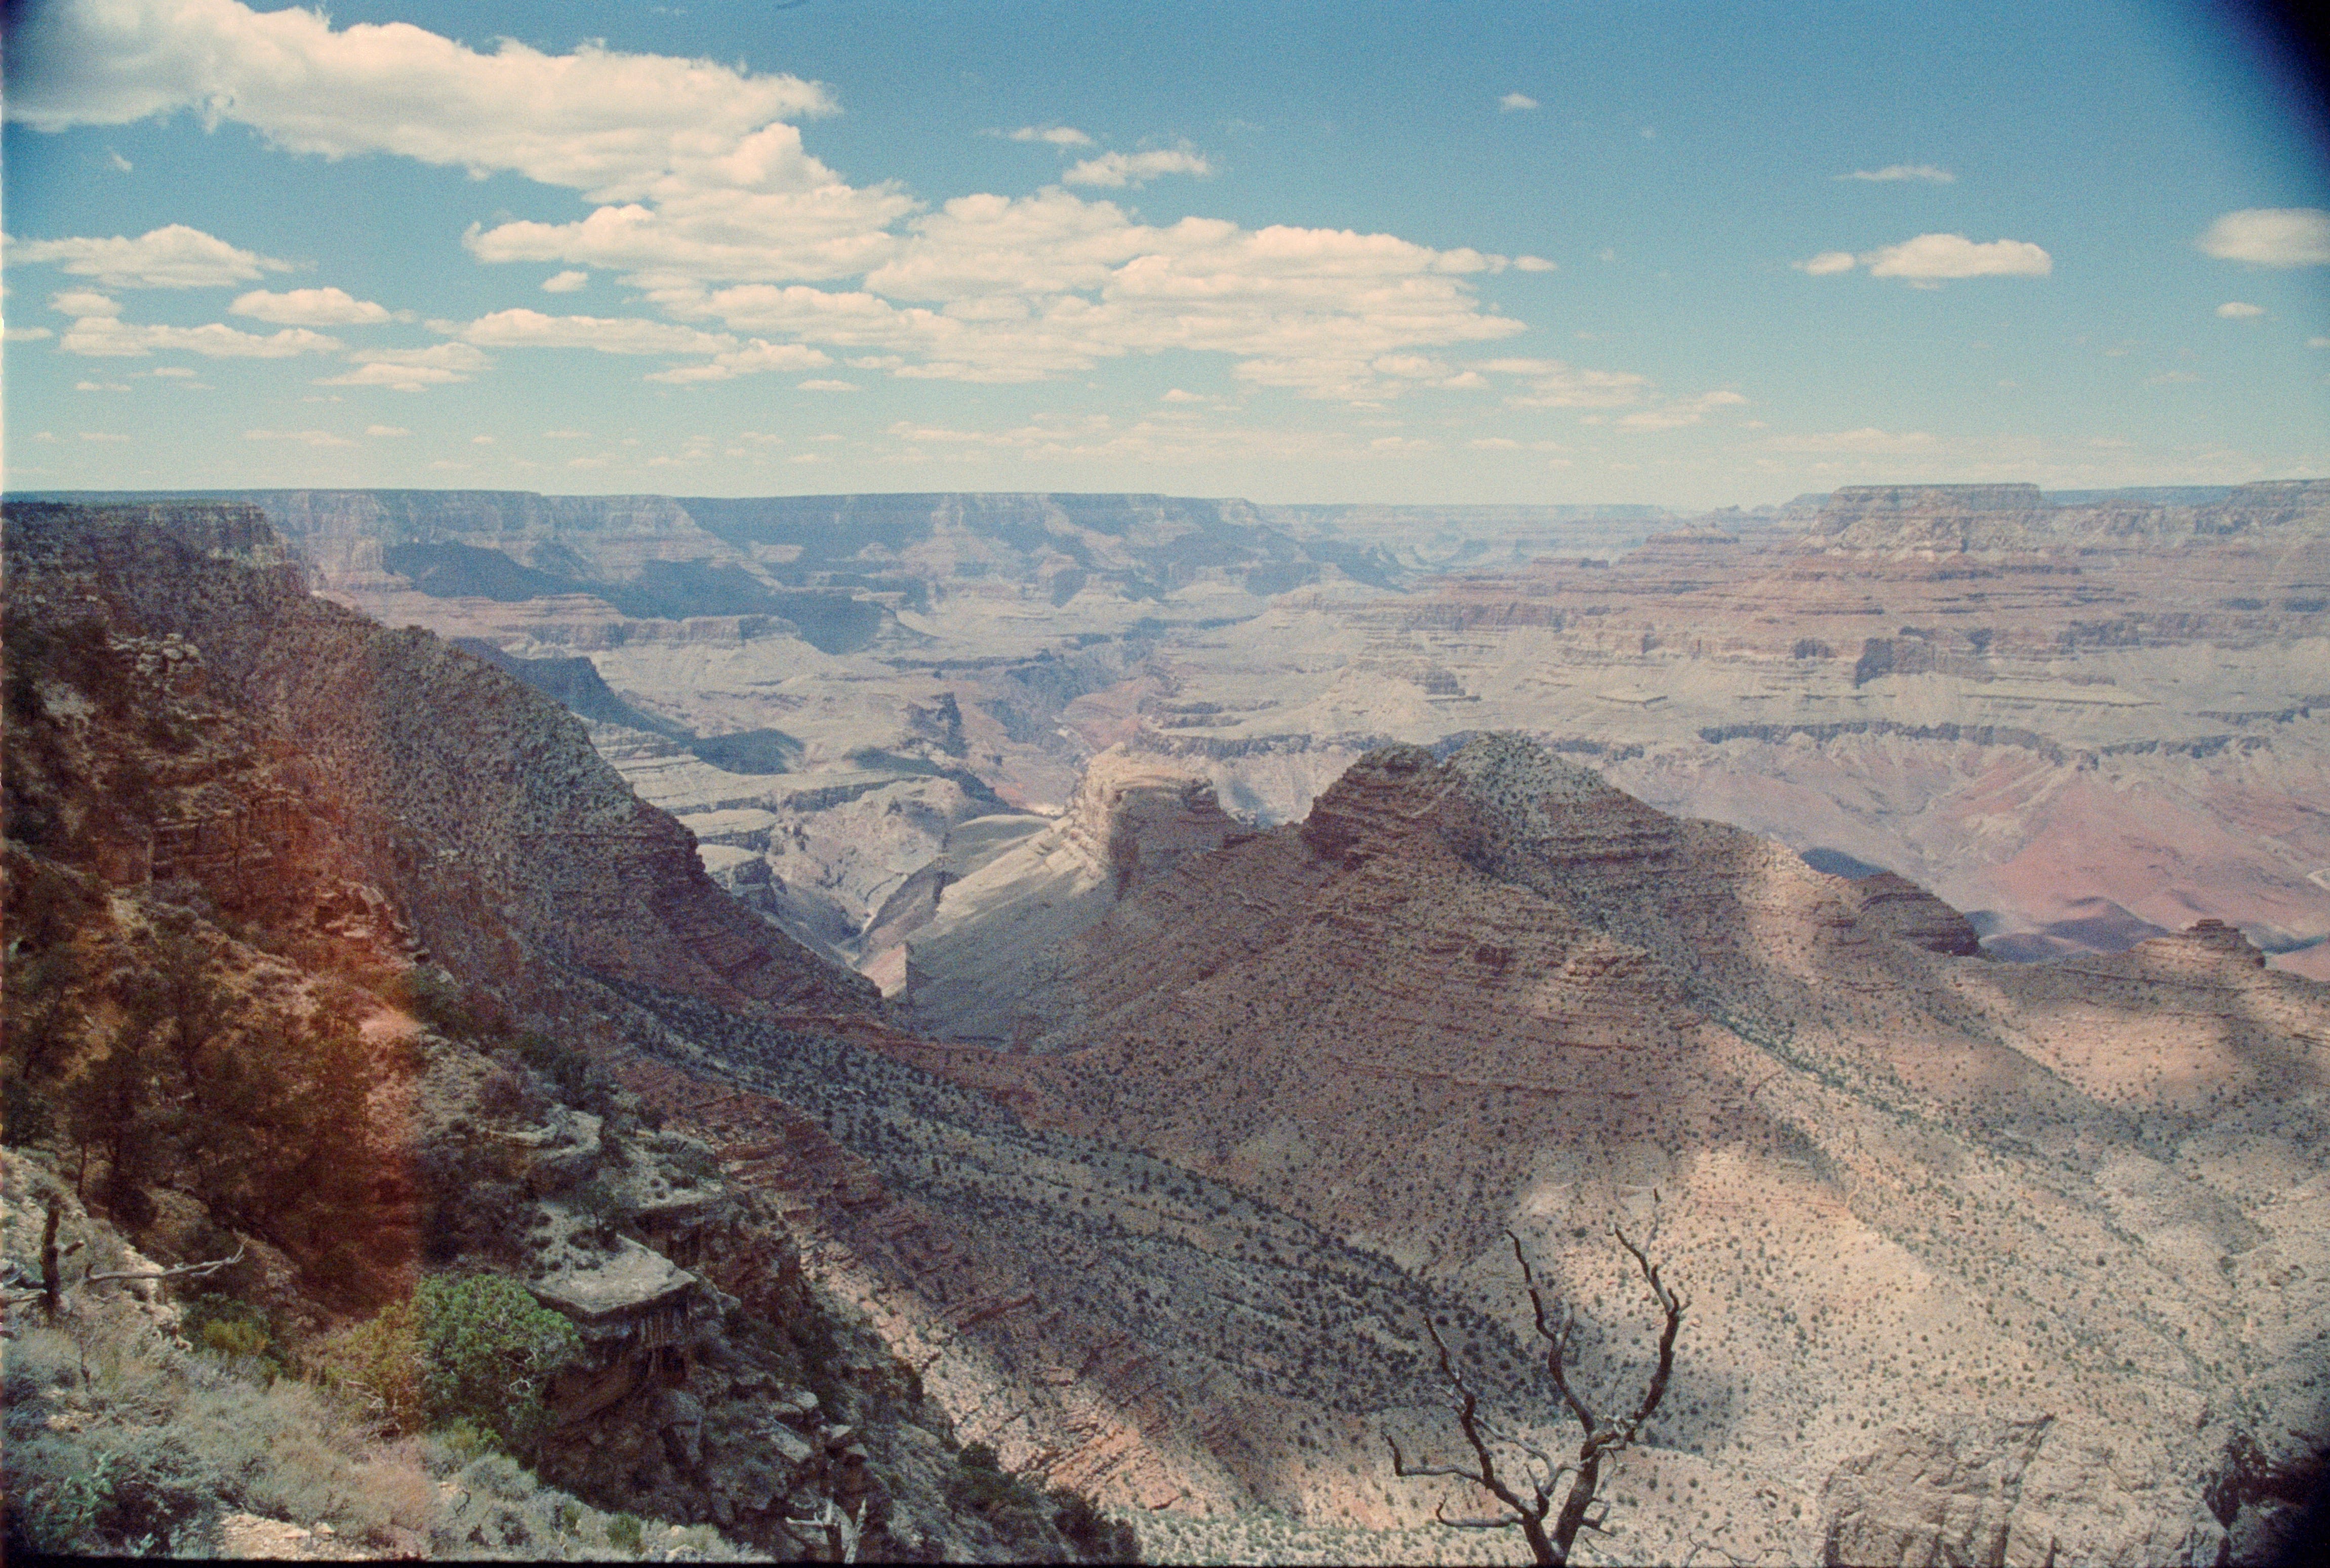
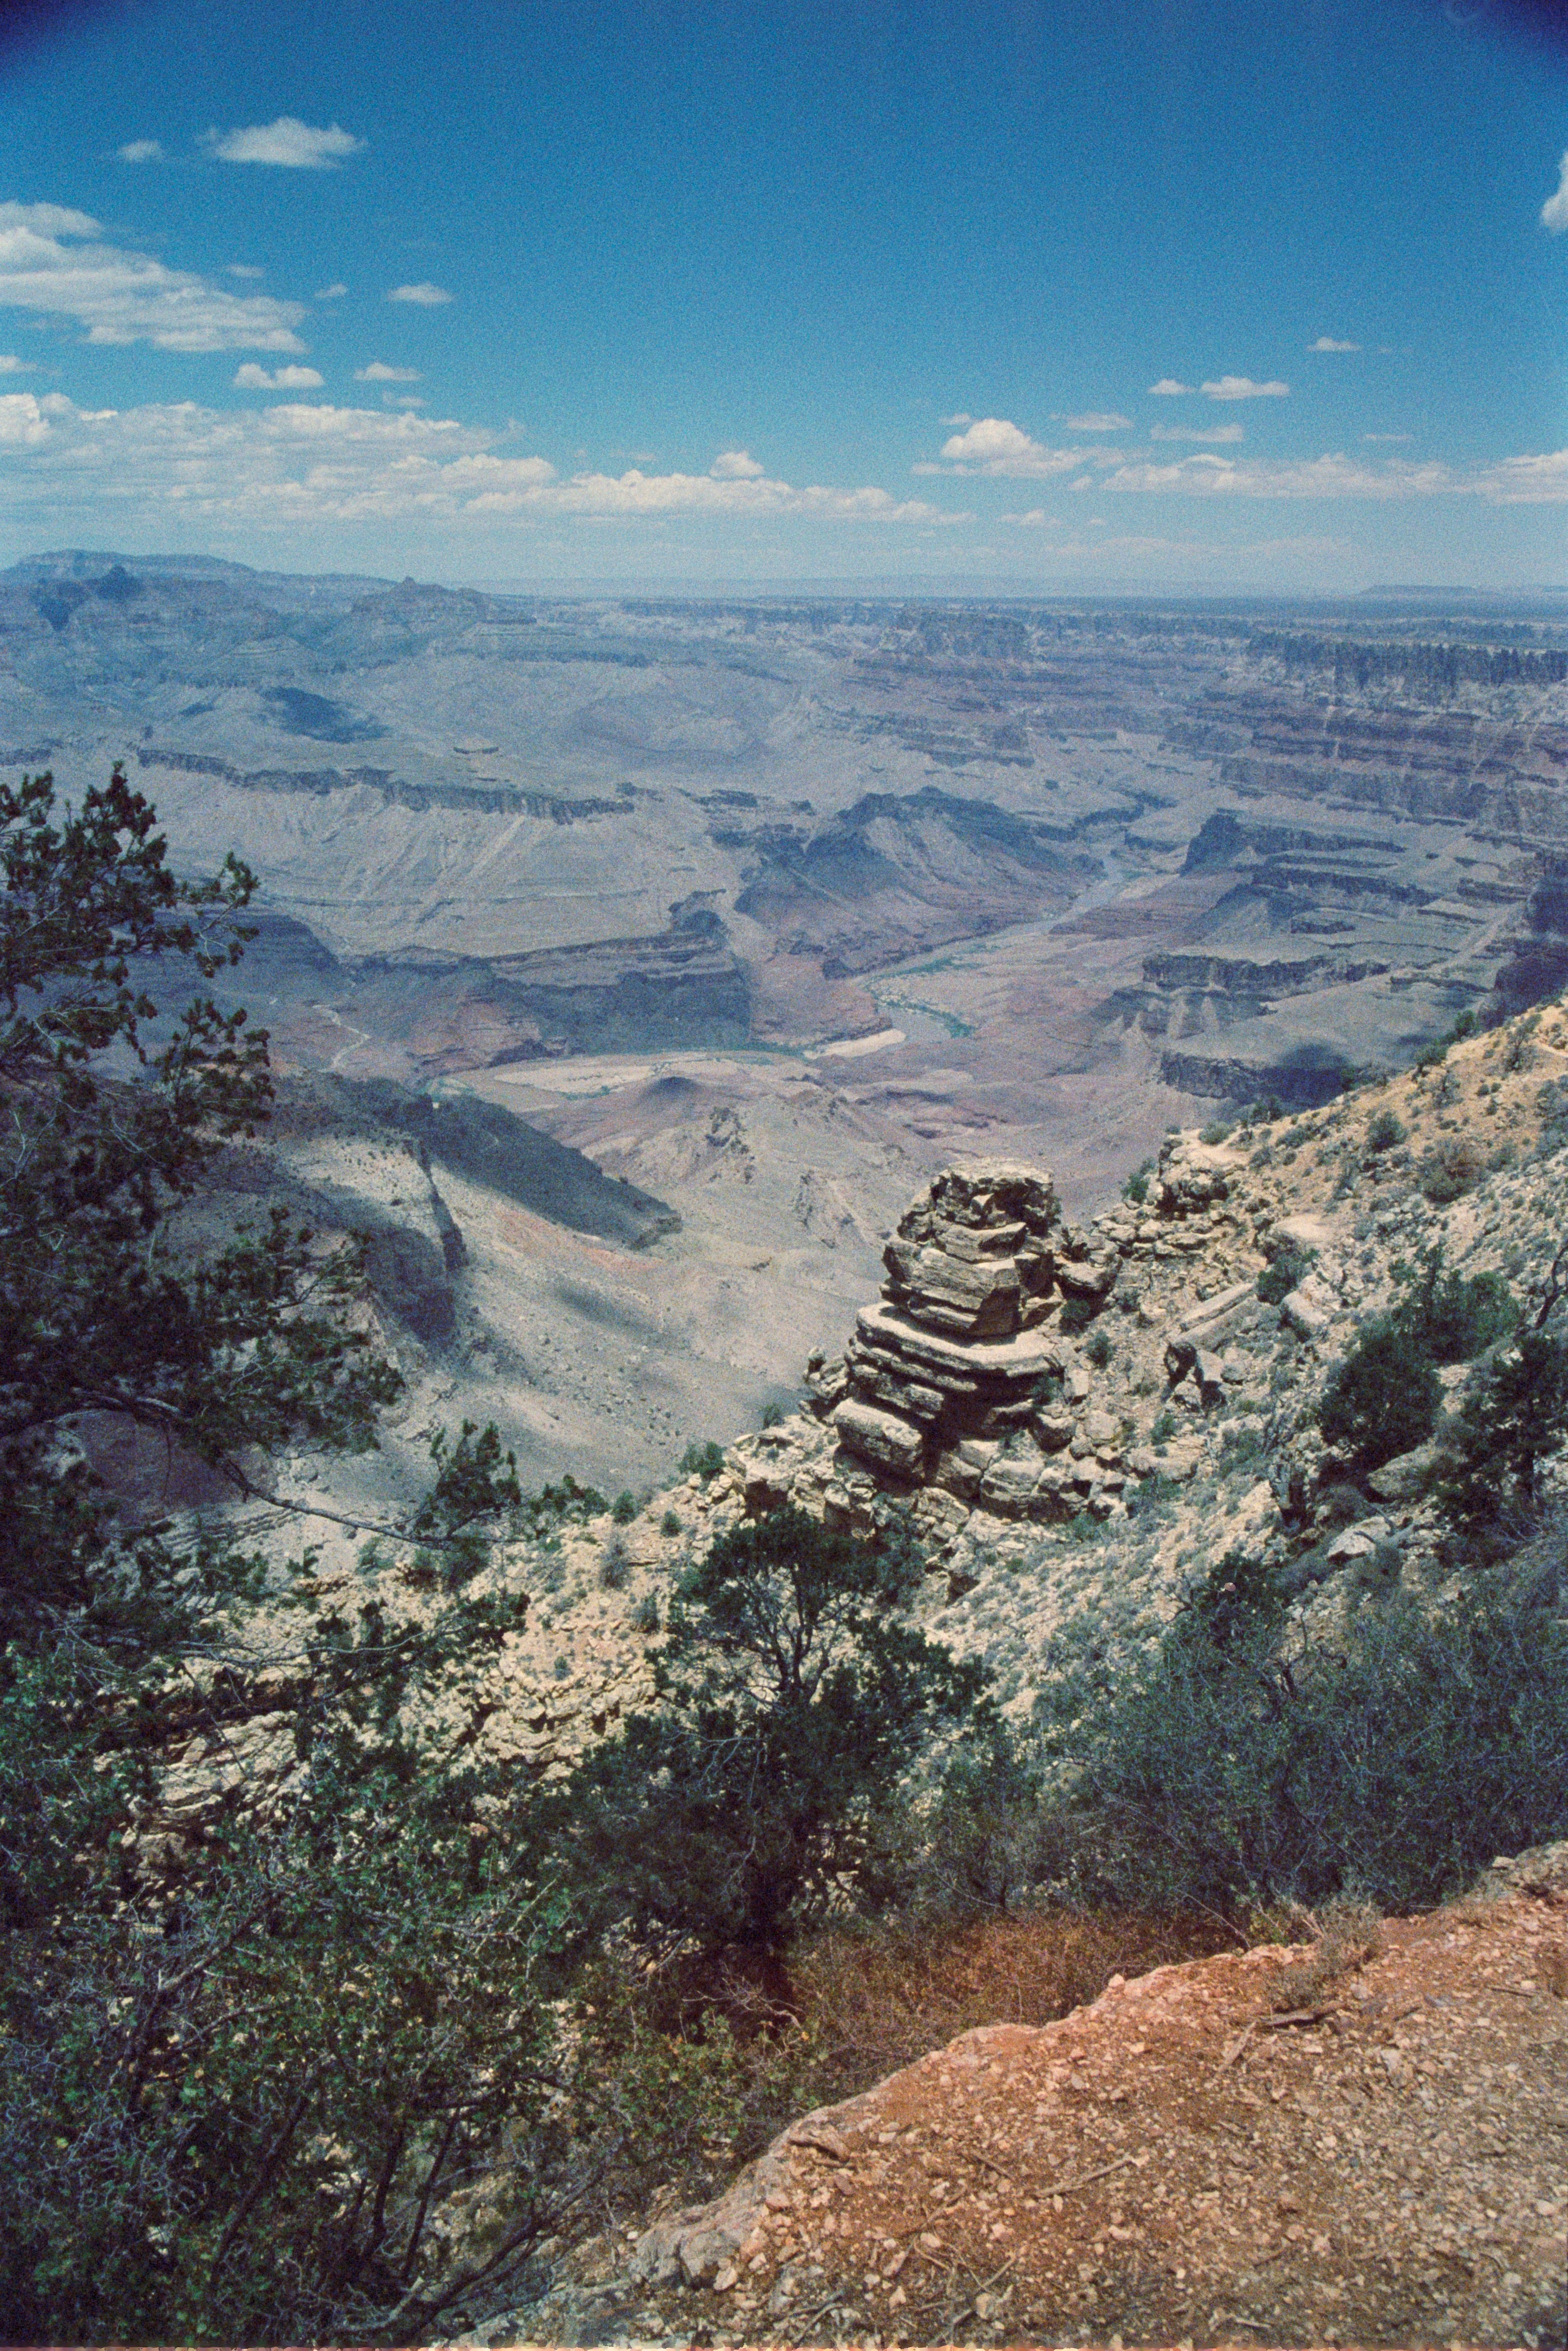
here’s the rest of the roll, straight out of the scanner. i’ll probably still play around with some of the Grand Canyon photos, although i have some better ones from another roll (coming soon).


hope you enjoyed. more to come!